Sunday is my day, because I could spend more time for my self and also cooking/baking without worrying if there's any deadline. My son already bragging me about making Burger for him since couple weeks ago. So fulfilling his wishes I'm making one for today's lunch.
My version of Burger is so easy to make. You just have to find a really good prime mince beef with less fat on it. That's what makes the Patty is tender and juicy after its grilled. I had once tried using a regular mince beef, it didn't taste as juicy as the less fat one.
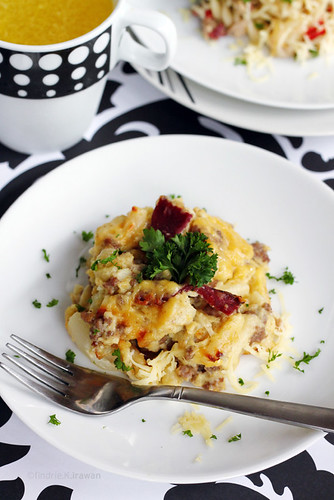
For the side dishes, I made a deep fried baby potatos, shimmered with olive oil and Rosemary. You can use any kind of potatos, but I find it's nicer to have a bite size one.
My version of Burger is so easy to make. You just have to find a really good prime mince beef with less fat on it. That's what makes the Patty is tender and juicy after its grilled. I had once tried using a regular mince beef, it didn't taste as juicy as the less fat one.
For the side dishes, I made a deep fried baby potatos, shimmered with olive oil and Rosemary. You can use any kind of potatos, but I find it's nicer to have a bite size one.

Baby Potatos

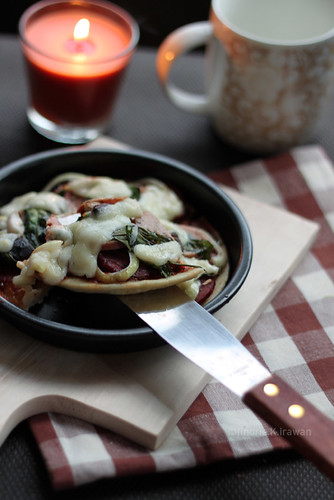
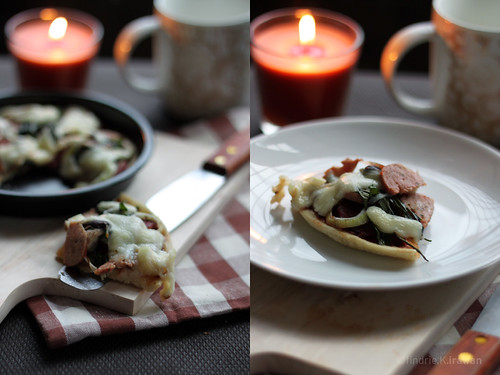
The Juicy Burger
Here are the recipe:
PATTY
- 250 gr Prime Mince Beef (less fat)
- 5 cloves medium Garlic > chopped
- 5 cloves medium Red Onion > chopped
- 1/2 Onion > chopped
- 3 tbs bread crumb
- 1 tsp pepper
- 2 tbs BBQ Sauce
Divide and shape the beef into palm size, make a ball of it and then push gently to make it shaped as a patty. Give a little bit of salt (only if you're going to cook it straight away).
Pour 2 table spoon of Olive oil into the pan, cook the patty until it turns brown.
MUSHROOM SAUCE
- Mushroom, sliced
- 1/2 of Onion, chopped
- Olive oil
FINAL
Don't forget to warmed your bun first on one side, then spread mayonnaise and chilly sauce on it (if you like). Put some green salad first, patty then mushroom sauce on the top.
Enjoy! :D